Description
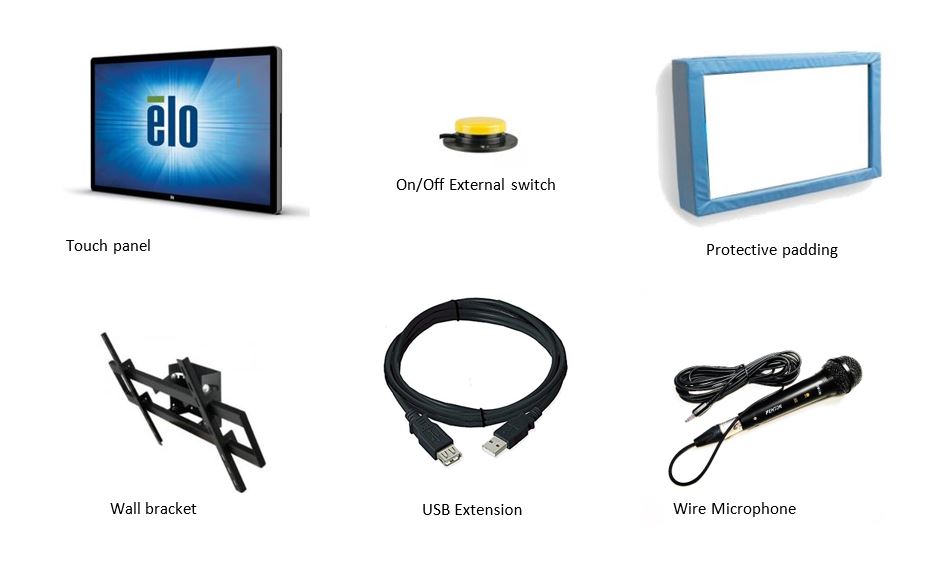
This large-format touch panel (42 “) includes a dedicated computer with an incredible package of sensory and interaction software. The system offers applications for voice interaction (includes a microphone), touch screen or external switches. Through the different ones it is possible to work the cause-effect relationship, the vocalization, the mobility, the game, the sweep, the memory, etc.
In addition to the included activities package, it is possible to integrate any compatible Windows application. Padded system and wall mounting system are also included.
The touch and voice panel is compatible with the SHX system.
Components
Software Included:
- BJ Remote Asistance (Team Viewer)
- Whitecap
- VU meter
- Senswitcher
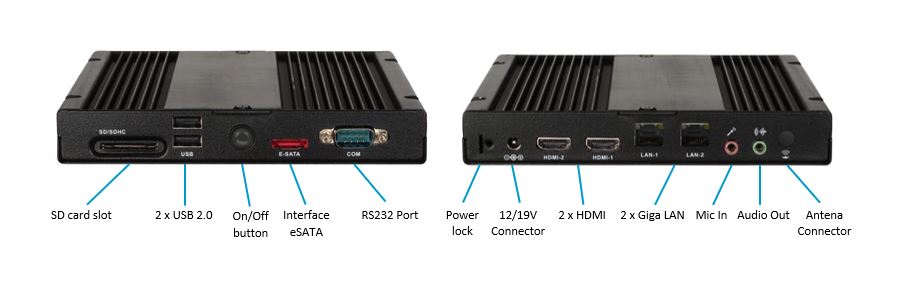
Dedicated PC:
Installation
PART 1. Electric connection
To assemble the interactive panel, follow the next steps:
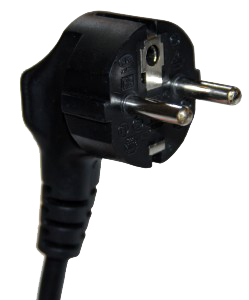
- Connect the power cable to the wall socket.
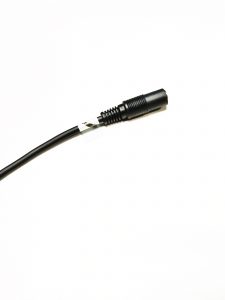
- Connect the microphone to the jack female connector labeled with a microphone icon.

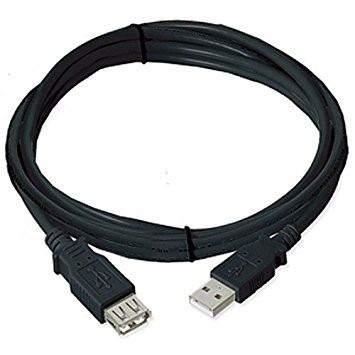
- Connect the USB extension cable to the USB connector. This provides easier accesss to the USB port of the computer.
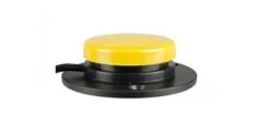
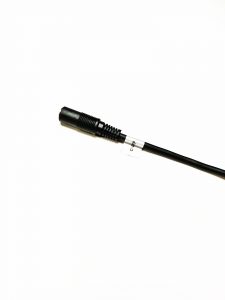
- Connect the external switch to the female jack connector labeled with On/Off tags.
PART 2. Wall bracket
Materials needed for assembly:
For the assembly of this device the following items are needed (not included in the product):
- 4 or 8 dowels (minimum 8mm) (make sure you use the appropriate dowels on the mounting surface)
- 4/8 screws.
Assembly:
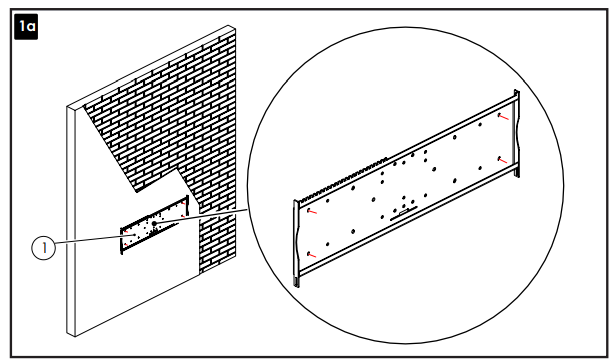
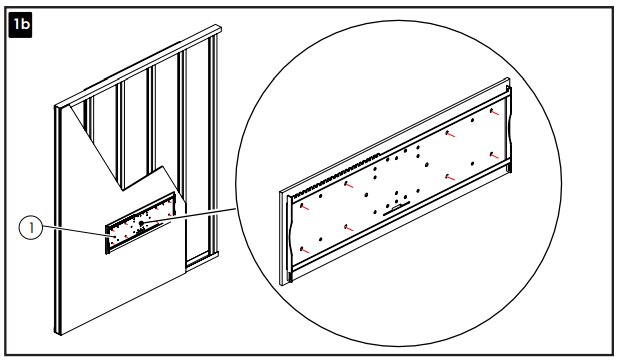
STEP 1: Fix the fixing base of the support on the wall:
In order to perform a correct instalation of the unit check the following points:
- Make sure the wall where the monitor is going to be installed can support up to 4 times the total weight of the equipment.
- It is always the responsibility of the installer to ensure the fixation of the fixing plate, making sure is sufficiently resistant to the weight of the monitor.
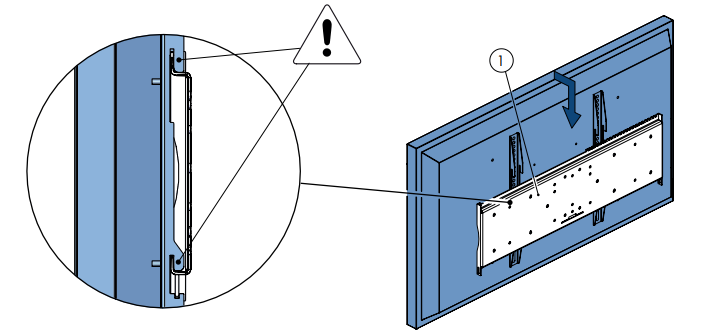
STEP 2: Fix the panel on the fixing base of the wall bracket.
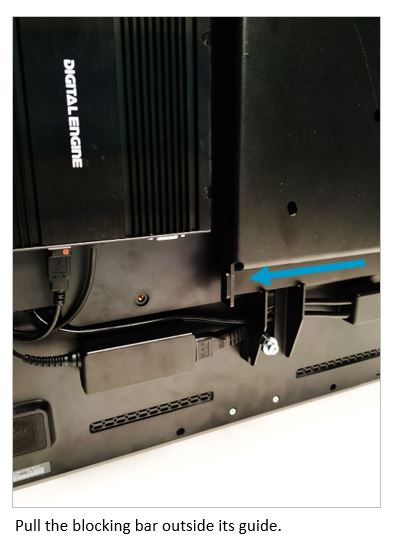
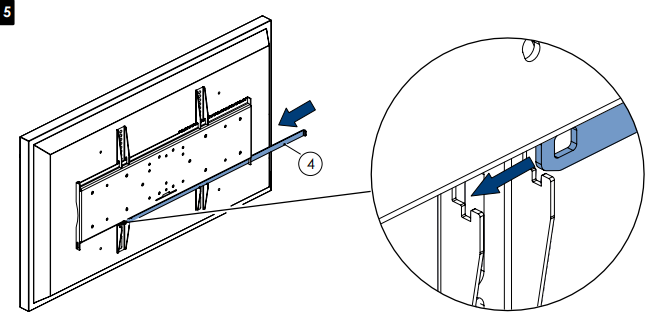
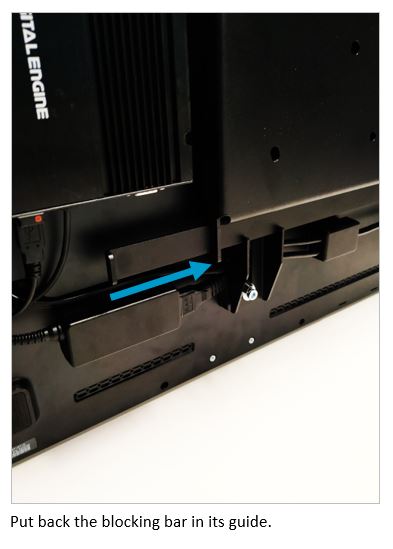
STEP 3: Put the blocking bar.
STEP 4: Placing the padding
Place the padding on the monitor frame by removing the protections of the double-sided tape. Once the frame is placed, fix the activation button in an accessible and comfortable place to turn on the monitor.
Maintenance
Cleaning the protection padding:
- Wash with water and mild soap
- Rinse with clean water.
- Dry with soft cloth.
PC Maintenance
- Make sure all Windows updates are installed in the computer.
- Power Off when long periods of non use are programmed.
- Do not open the case of the computer to clean the unit.
- clean up just exterior dust.
Maintenance of the Touch Panel
- Unplug the AC power cord before cleaning.
- To clean the screen, use a cloth lightly moistened with a mild detergent.
- It is important that your unit remains dry. Do not allow any liquids to enter in the unit. If liquid enters, contact a qualified service technician before switching it on again.
- Do not wipe the screen with a cloth or sponge that may scratch the surface.
When cleaning the touch screen, use a window or glass cleaner applied on a clean cloth or sponge. Never apply the cleaner directly on the touch screen. Do not use alcohol (methyl, ethyl or isopropyl).