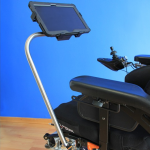
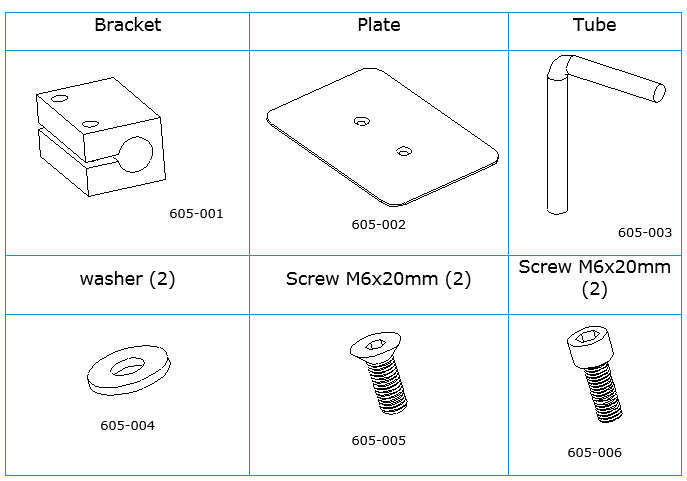
Unit aseembly
1.1
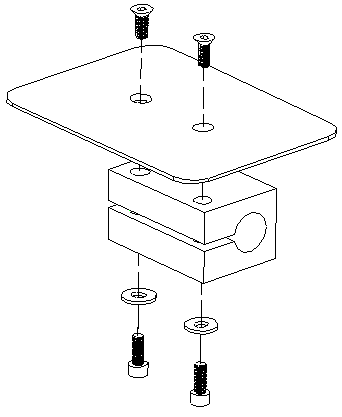
Fig. 1. Mounting the plate and bracket.
1.2
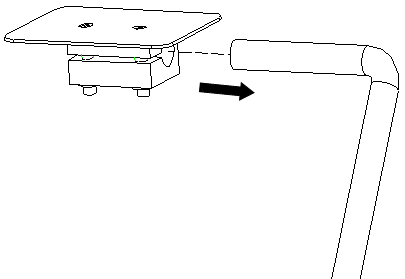
Fig. 2. Mounting the plate and bracket on the tube.
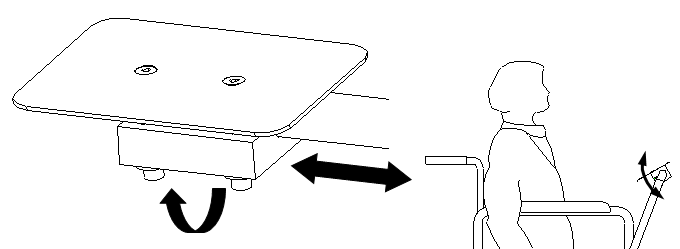
Fig. 3. Disposition of the plate on the tube.
Bracket assembly to wheelchair
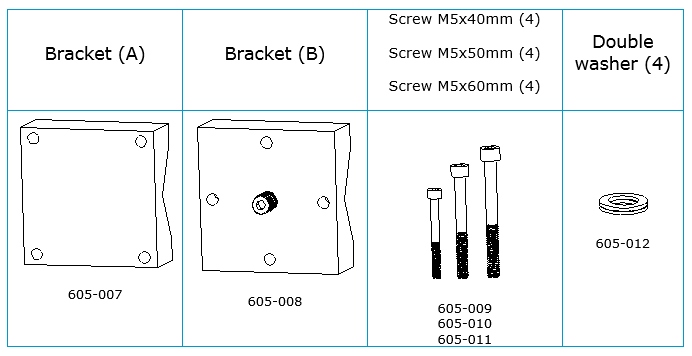
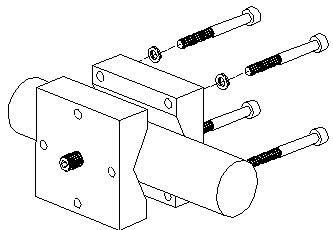
Fig. 4. Mounting the bracket in horizontal position.
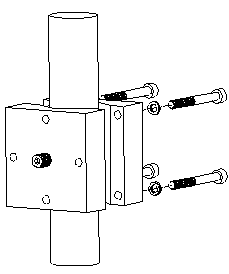
Fig. 5. Mounting the bracket in vertical position.

Detachable arm assembly to bracket
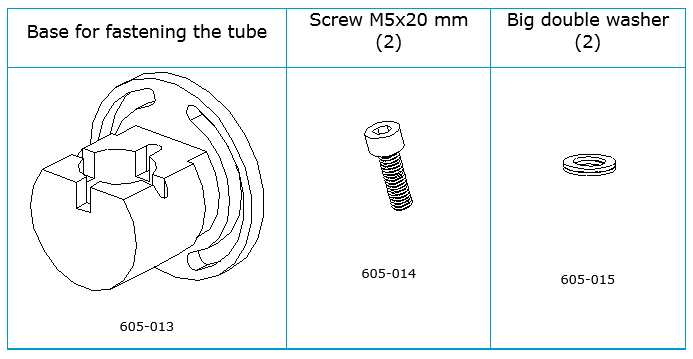
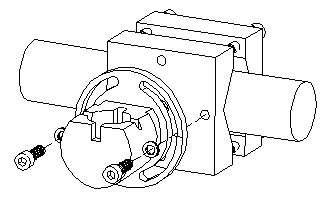
Fig. 6. Mounting the clamping arm in horizontal position.
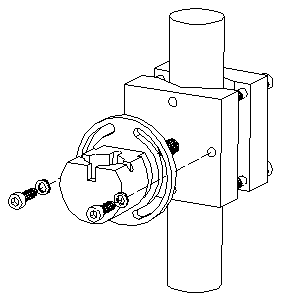
Fig. 7. Mounting the clamping arm in vertical position.

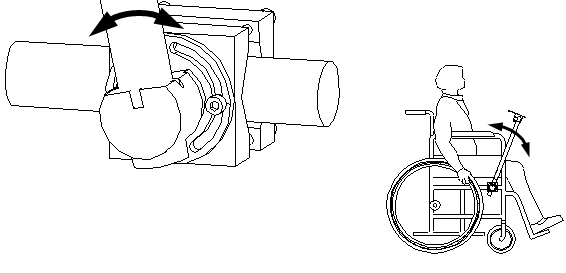
Fig.8. Orientation of the clamping arm.
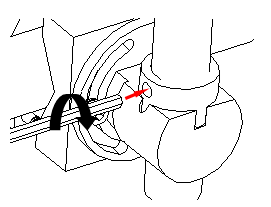
Clamping ring fix
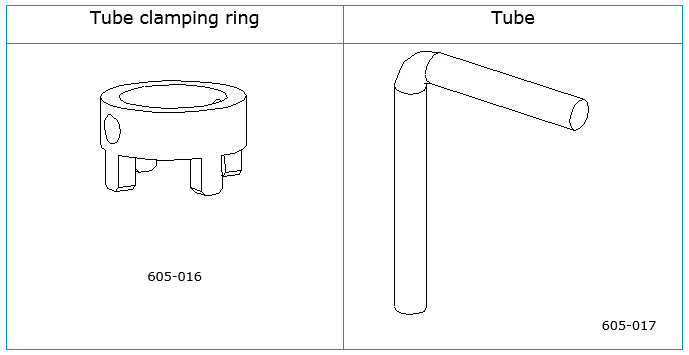
Esta pieza permite acoplar el tubo del brazo a la base que se montó en el paso anterior.
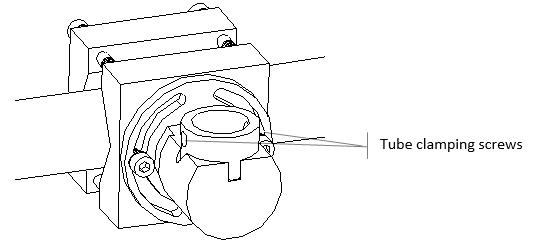
Fig. 9. Mounting the tube clamping ring.
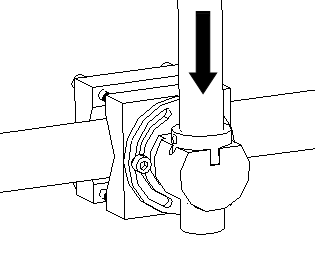
Fig. 10. Tube insertion inside the ring.
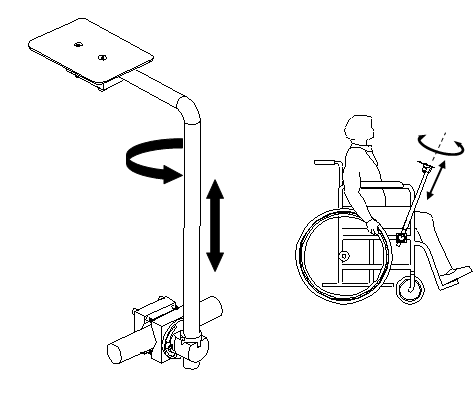
Fig. 11. Global orientation of the tube assembly.
Detachable arm adjust
This system has been designed for an easy use after installation. For detaching the mounting system simply raise the tube assembly (Fig. 12). For returning the system to the wheelchair, insert the tube assembly and ensure the correct orientation (Fig 13). The tube will have exactly the same position as when it was installed for the first time. There’s no need to make further adjustments.
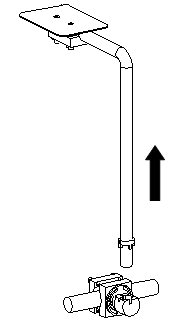
Fig. 12. Removing the tube and the tray.
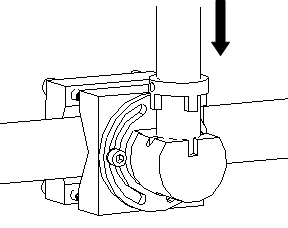
Fig. 13. Inserting the tube and the tray.
If you need to put the tray away, so as not to disturb the user, do not need to remove it completely; simply raise the tube assembly and rotate the tray 90 degrees until the ring again matches the holes of the base (fig. 14).
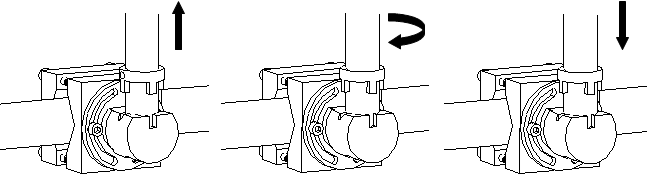
Fig. 14. Rotation of the tray
The tube can be rotated 90º providing 4 different positions of the tray (fig 15).
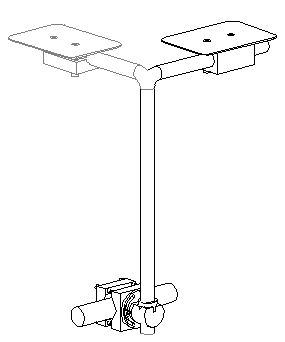
Fig. 15. Repositioning the tray.
Once the mounting system is in the use position, it can be locked using the provided key (fig. 16). This key allows locking the tube, preventing the arm can move. There’s no need to tighten the key strongly because a small pressure allows the locking
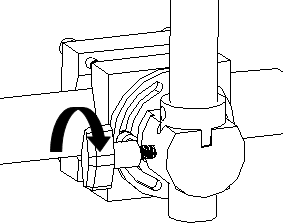
Fig. 16. Locking the system with the key.