Description
Introduction
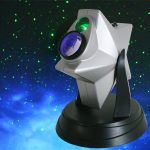
Activate the star projector in any SHX scene and enjoy an attractive sky of stars in movement. It’s highly recommended to use it in a dark environment.
Components

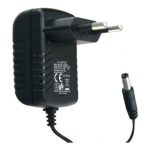 Stars proyector with power adapter
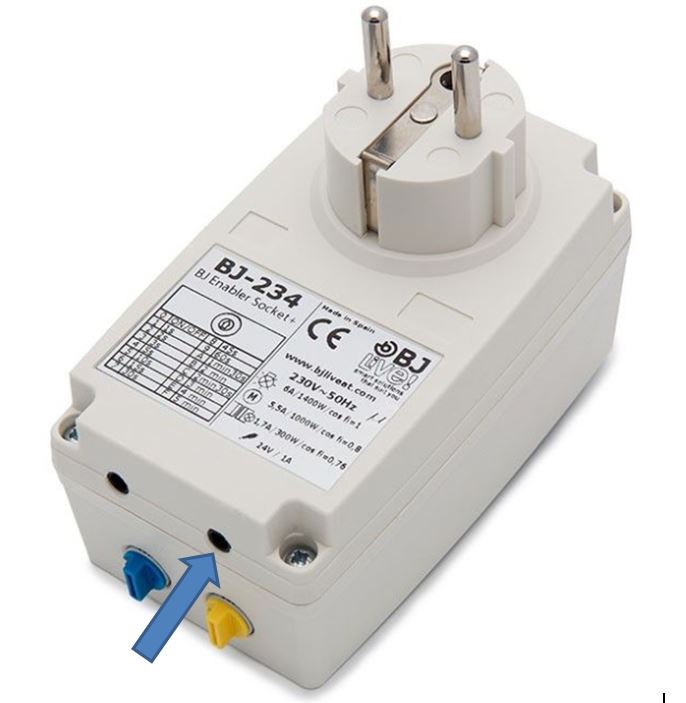
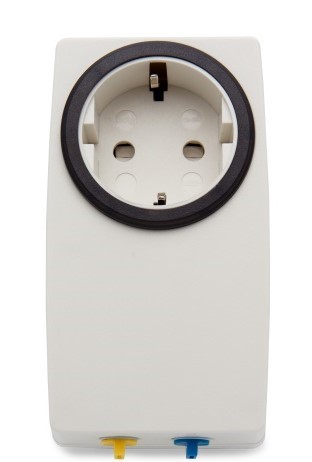 BJ-234 Enabler Socket+
Installation
Unpack the product carefully.
If you find any damage or lack of material when unpacking, please contact BJLive!. It is recommended to keep the boxes during the period of warranty in case it’s be necessary to return it.
Necessary elements for assembly:
In case you want to mount the star projector on the wall, you will need 2 screws with a cylindrical head and the fixing plugs on the wall.
Installation:
STEP 1. Power the device
Before connecting the power adapter, check if the Socket + receiver is properly configured. The position of the wheels of the receiver must be:

- Connect the power adapter to the Star projector.
- Plug the power supply into the Socket + socket.
- Connect the Socket + device to the power.
STEP 2. Adjust nebula level
With a dimmer located at the bottom rear side of the projector, it’s possible to adjust the intensity of the nebula’s brightness, until the cloud is turned off.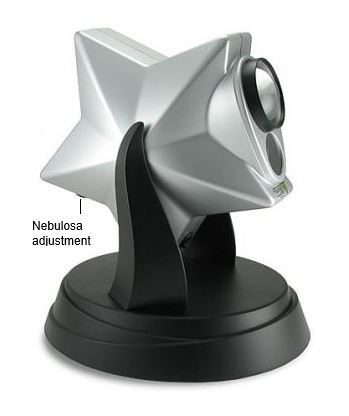
Startup
- Adjust the level of nebula with the adjustable wheel.
- If desired, you can connect a switch on the Socket + device’s switch input to control the star projector directly.
How to use
To start the star projector you can do it from the SHX application or through a switch.
With the configuration delivered from the factory, when the pumps are activated, they will start up or shut down according to their previous state.
To activate the stars from the SHX application, you can go to the “Control” tab of the SHX application:
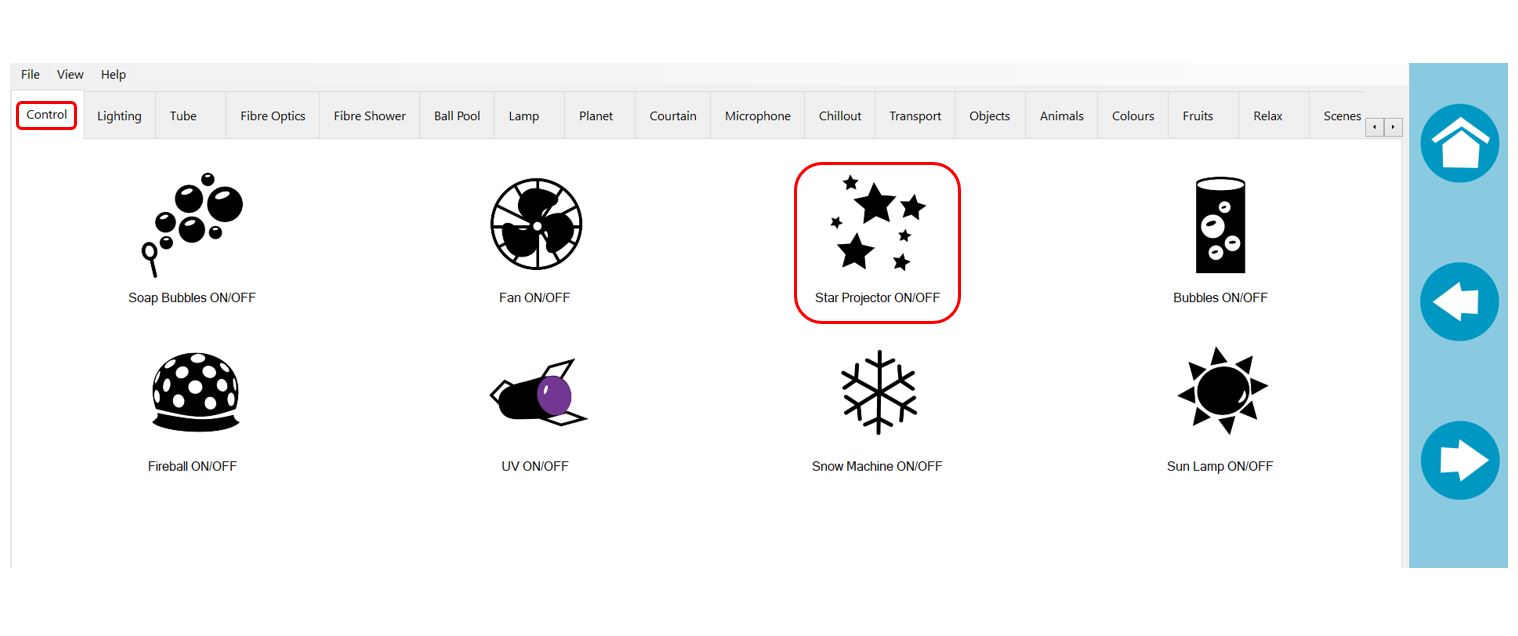
By clicking on the button indicated in the previous figure, the stars will be activated if they were off, and will go off if they were on.
IMPORTANT: For its correct operation, the blue wheel of the Socket + device must be in position 3
Software configuration
To control the stars, the configuration of the device has been created in the SHX application.
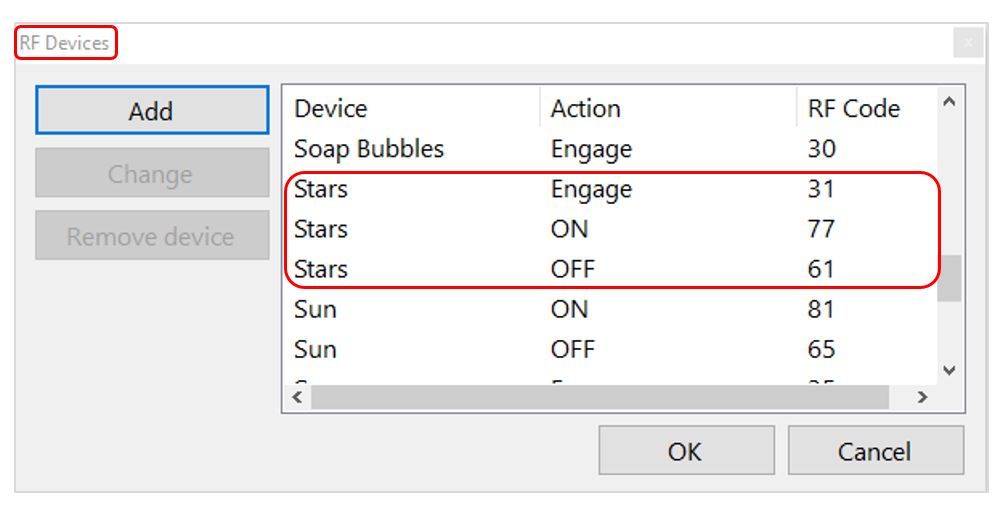
The control orders of the stars are sent by radiofrequency. The codes associated with the different functions of the control of the stars are:
- Code 31: activate / deactivate stars
- Code 61: deactivate stars
- Code 77: activate stars
The configuration parameters of the stars are the following:
Troubleshooting
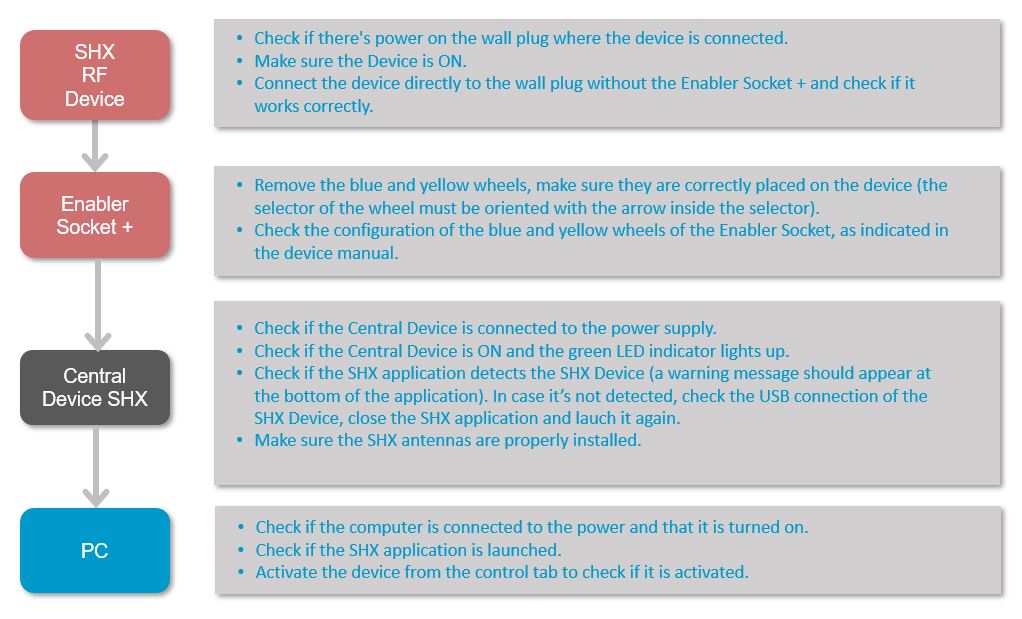
The projector doesn’t turn on:
In the event of the Star projector not starting up, check the following steps:
The nebula is lights up but the stars part is not working:
In the case that you see the blue nebula but not the stars on the ceiling of the room, check if the plastic plate that is screwed to the pulsator of the stars is tight and fixed to the projector. In the case that it is well fixed, if it continues to fail, there might be an issue with the device.
The stars are working but not the nebula:
Check if the nebula’s brightness adjustment whell is at the correct intensity.
You hear how the Socket + receiver is activated but the star projector doesn’t activate:
Check that the projector’s power adapter is properly connected to both the receiver and the star projector.